It’s incredible how far automation can go with a little curiosity and determination. These days, loads of sensors and smart devices are readily available on Amazon, and they work great. Over time, I’ve picked up a bunch of gadgets and slowly tackled some of my daily challenges through automation. With Christmas around the corner, it’s all about lights, LEDs, and more lights! Automating these is usually straightforward. LED strips, for instance, often come with smart controllers that integrate directly with Home Assistant. Other lights can simply be plugged into smart outlets. However, I stumbled upon an interesting challenge.
I have a lot of battery-operated LED lights. They’re super cheap, and I’ve accumulated quite a collection over the years. They run on a simple principle: three AA batteries power a string of LEDs, with a basic controller to switch between modes like steady, flashing, or breathing lights.

I figured I’d cut the battery wires, hook them up to a USB plug (same voltage, more or less), and voilà – a DIY solution for powered LED lights. Then, I could plug this into a smart outlet and automate it. Easy, right? Wrong.
When I tried my solution, only half the LEDs lit up; the rest stayed off. My initial thought was that the controller I removed must have had some role in lighting the other half. Logically, the only way this could work would be by alternating the polarity. So, I experimented by switching the polarity in my setup. Sure enough, the other half lit up, but the first half went off. It hit me: the original controller must be rapidly alternating the polarity, giving the illusion that all the LEDs are on simultaneously. This made sense, especially since modes like blinking and “dancing lights” could simply be patterns of alternating polarity with different delays.

I decided to keep it simple – I reattached the original controller and powered it via the USB plug, bypassing the batteries. This seemed like it would solve everything, but no. When the power was cut, the controller reset itself to its default state (off), making it useless for automation. I needed all the LEDs to turn on automatically when powered.
This left me with one option: building my own circuit to alternate the polarity while running on USB power.
The problem? I had no idea where to start. My understanding of electrical components was minimal – resistors and LEDs were about the extent of it. I scoured the internet but found nothing helpful. That’s when I turned to AI. I already use ChatGPT for tasks like reviewing emails, writing code, and editing articles, but I never imagined it could help solve an electrical circuit problem.
Armed with ChatGPT and an Amazon shopping cart, I dove into the project. The experience was incredible. I learned so much! Many concepts were things I vaguely remembered from school physics lessons but had long forgotten. ChatGPT walked me through everything – how transistors and relays work, the roles of various components, and even the fundamental laws of electricity. It felt like having a physics teacher right next to me, explaining concepts in a way that was easy to understand.

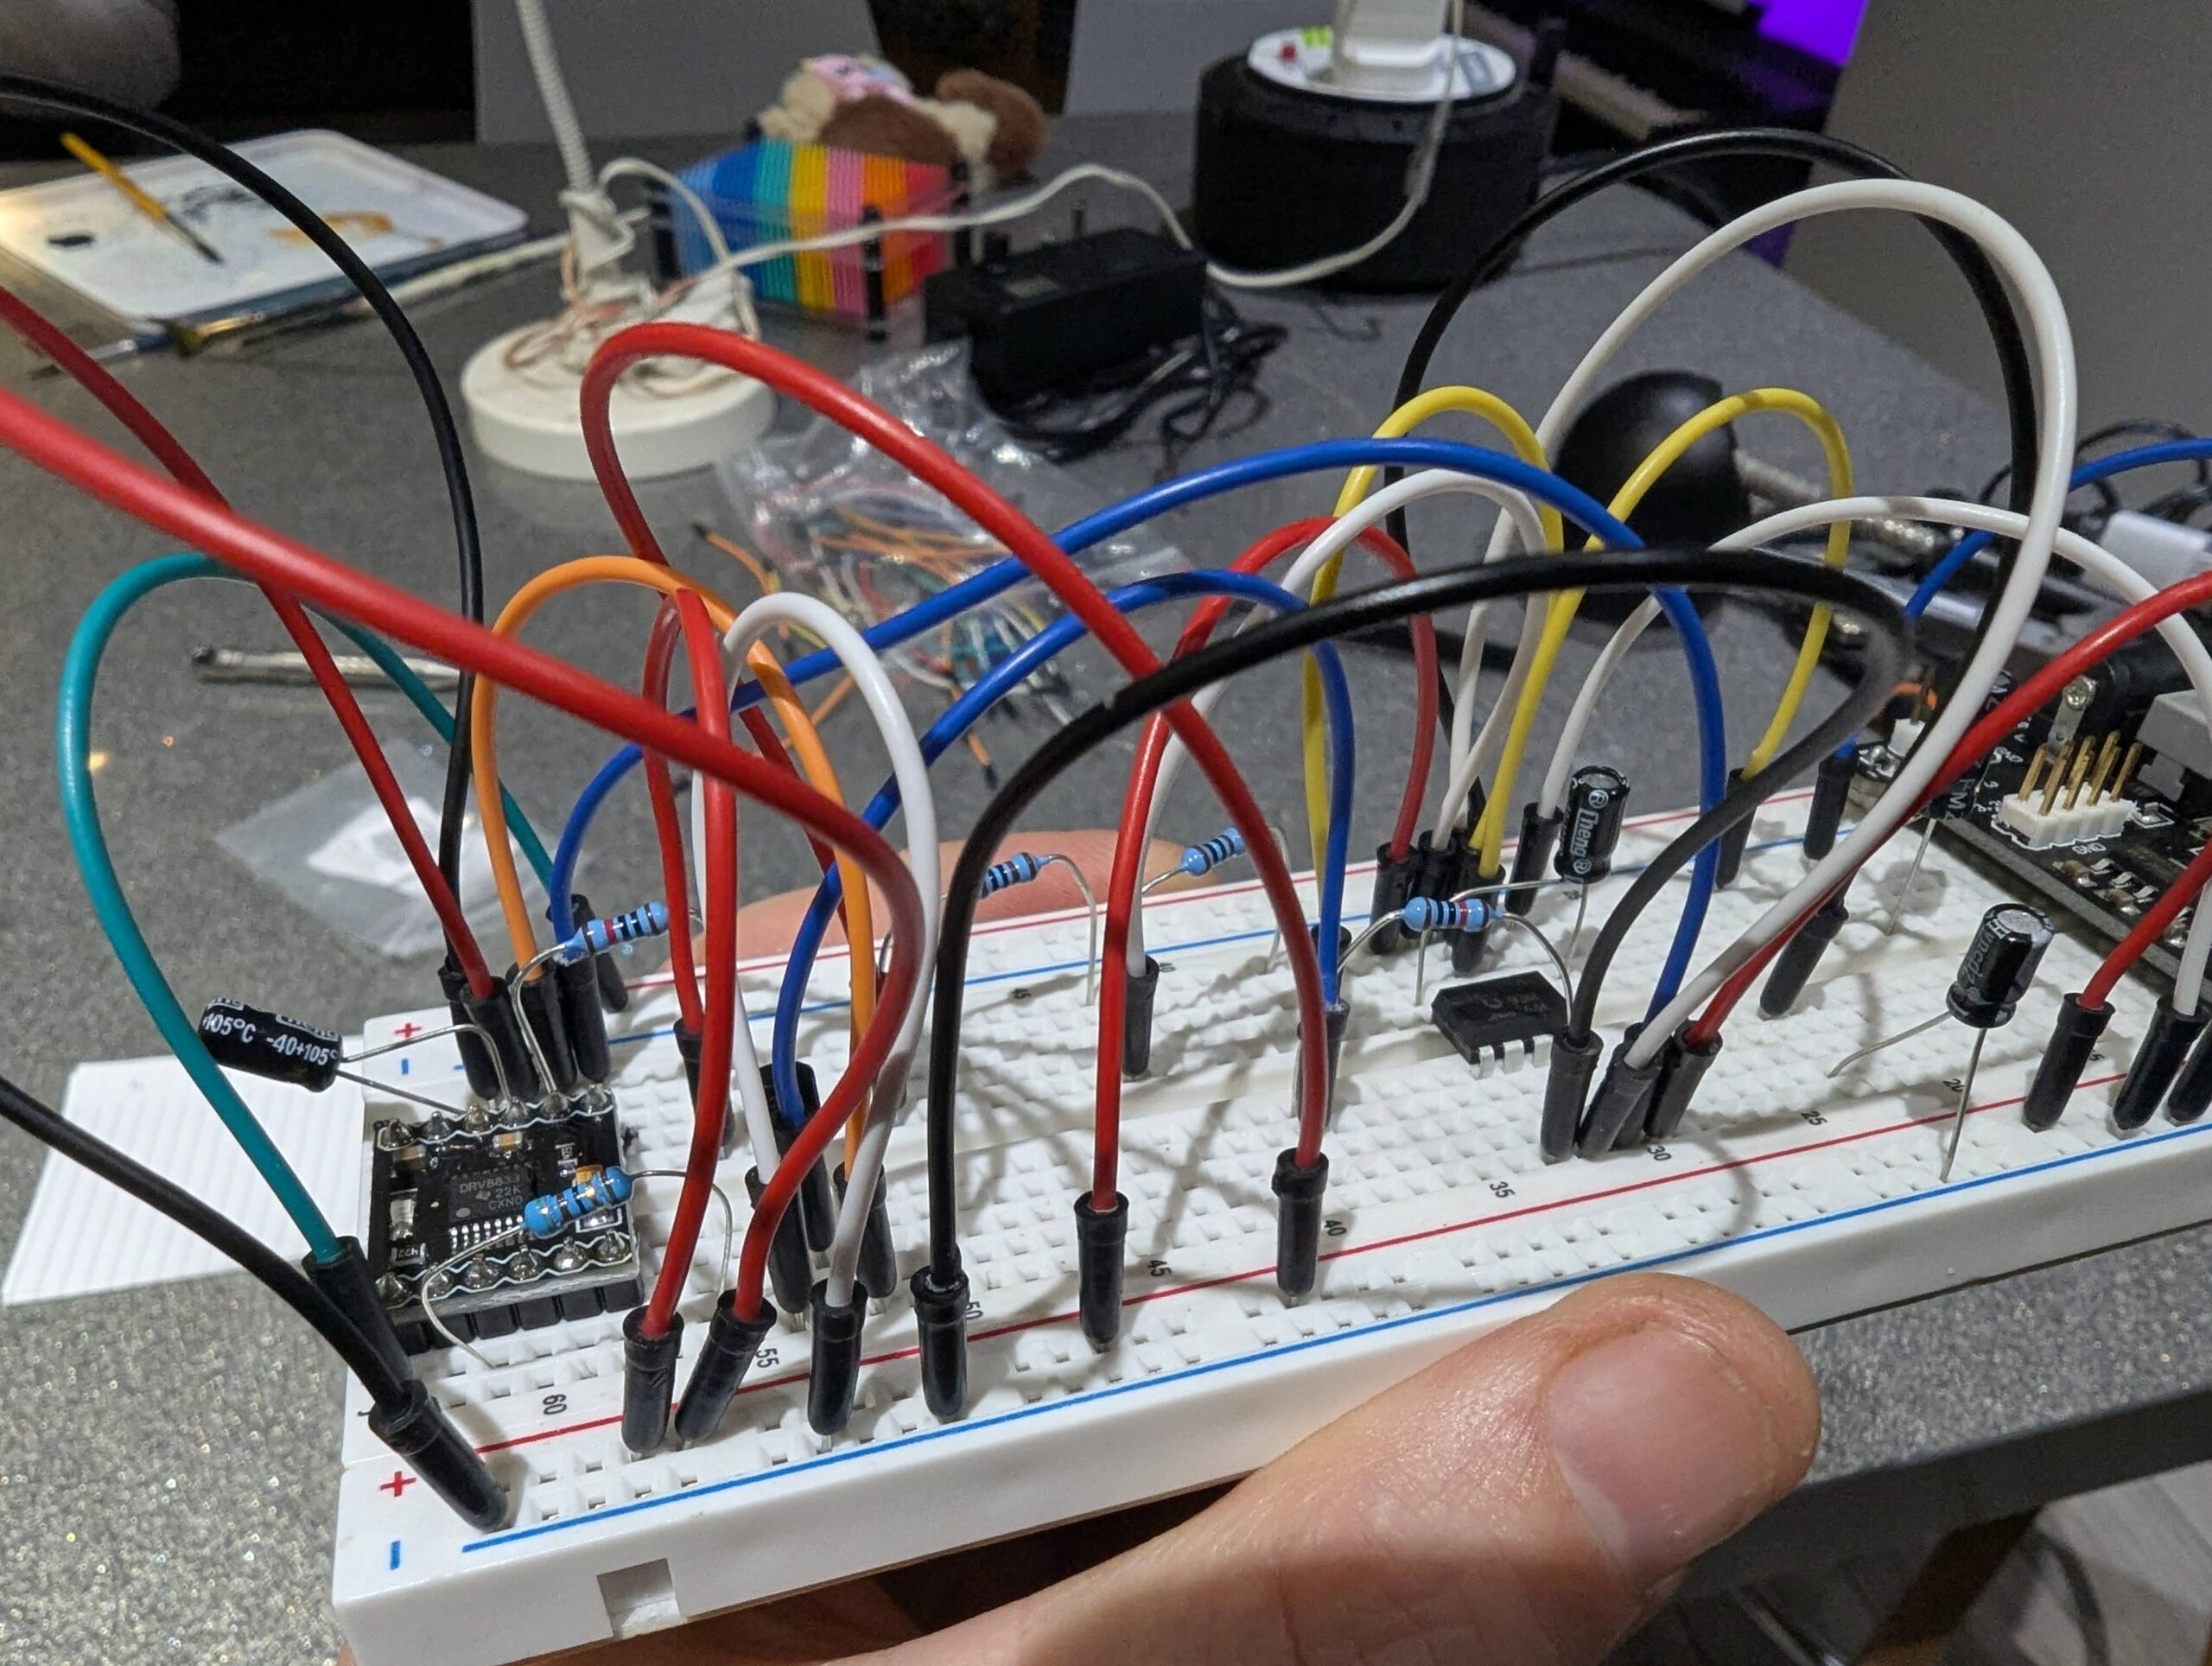
In the end, I created two solutions: one using an ESP controller to switch polarity logically and rapidly, and another using only basic components. Both are now live and running my LED lights flawlessly.
Solution #1: With ESP controller

Solution #2: With H-bridge and IC timer

I originally started writing this article to share the projects themselves, but this preface turned into its own story. I’ll save the schematics, code, and detailed explanations for another blog post. This was an incredibly fun and educational experience, and I’m so grateful to be living in a time where AI tools make such learning adventures possible. What an extraordinary era we’re in!


Leave a Reply